
Case study - image manipulation and production
Photoshop: Masking, Compositing & Visual QA
This case study was developed to demonstrate my image production skills in the context of AI workflows — an area that intersects directly with my background in graphic design and visual production across the Adobe ecosystem.
01 - Overview
Overview
My design background spans graphic production, web design, UX/UI, and visual systems work across tools like Illustrator, Figma, and Lightroom. This case study documents three focused personal Photoshop projects — masking, compositing, and visual quality review — that reflect where those skills intersect with image editing and AI-assisted workflows.
These projects reflect not just the ability to manipulate images, but to critically evaluate and quality-check them to a production standard.
Masking, compositing, and quality review represent the core of what makes image production work at any scale — getting clean edges, making scenes feel believable, and having a sharp enough eye to catch what's off. These felt like the right place to start.
02 - Piece One
Precision Masking & Complex Selections
Using Select Subject, Refine Edge, and manual mask painting to achieve clean, production-ready cutouts — including fine detail like hair strands and semi-transparent edges. I used this photo on my LinkedIn profile and wanted a clean headshot cutout.
Getting a clean mask is harder than it looks — especially around hair and fine edges. This piece is about showing the difference between a quick auto-selection and a result that's actually production-ready.
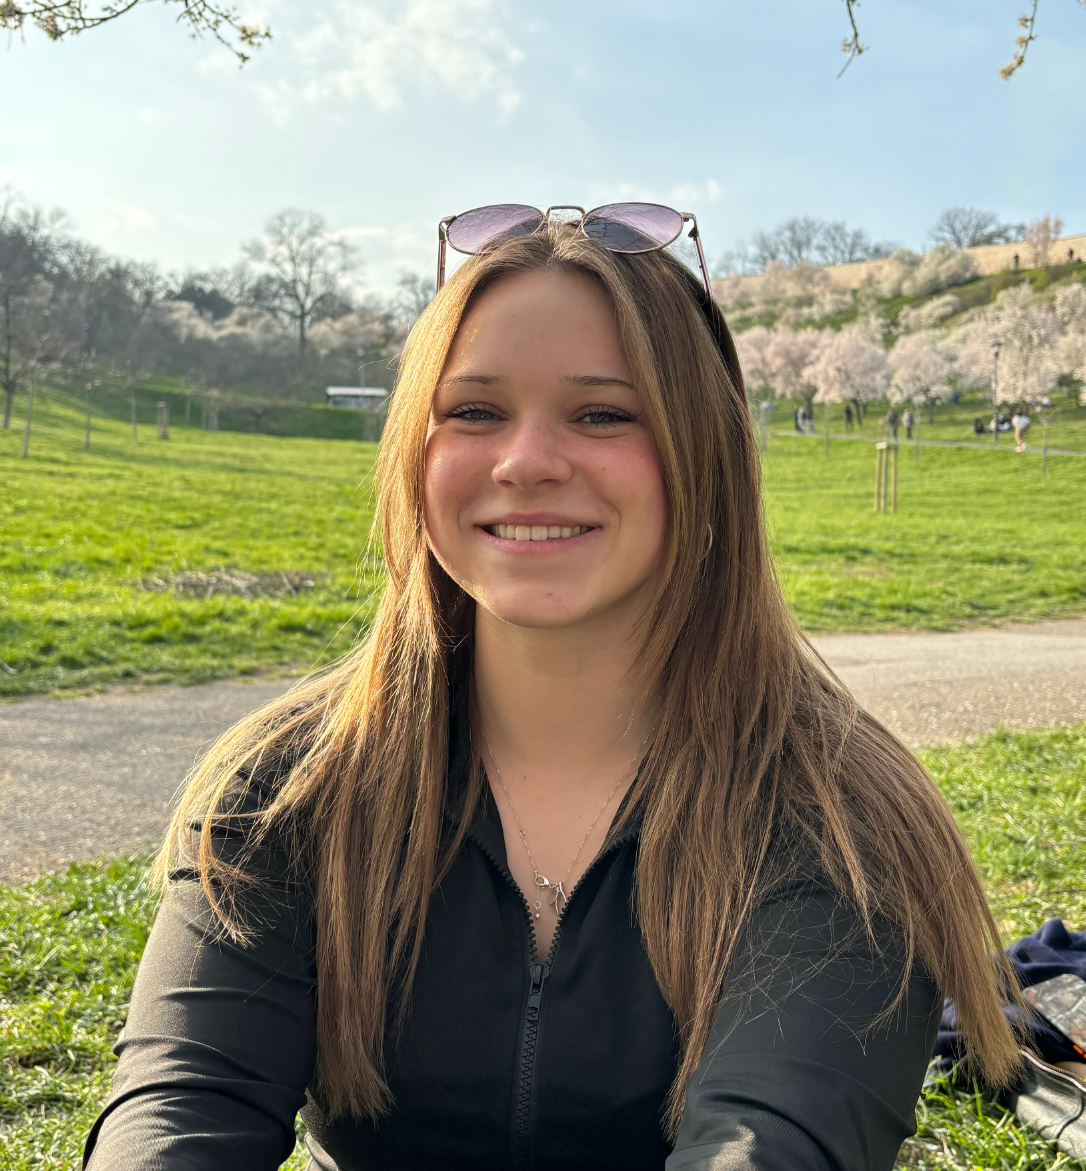
Original — subject on original background
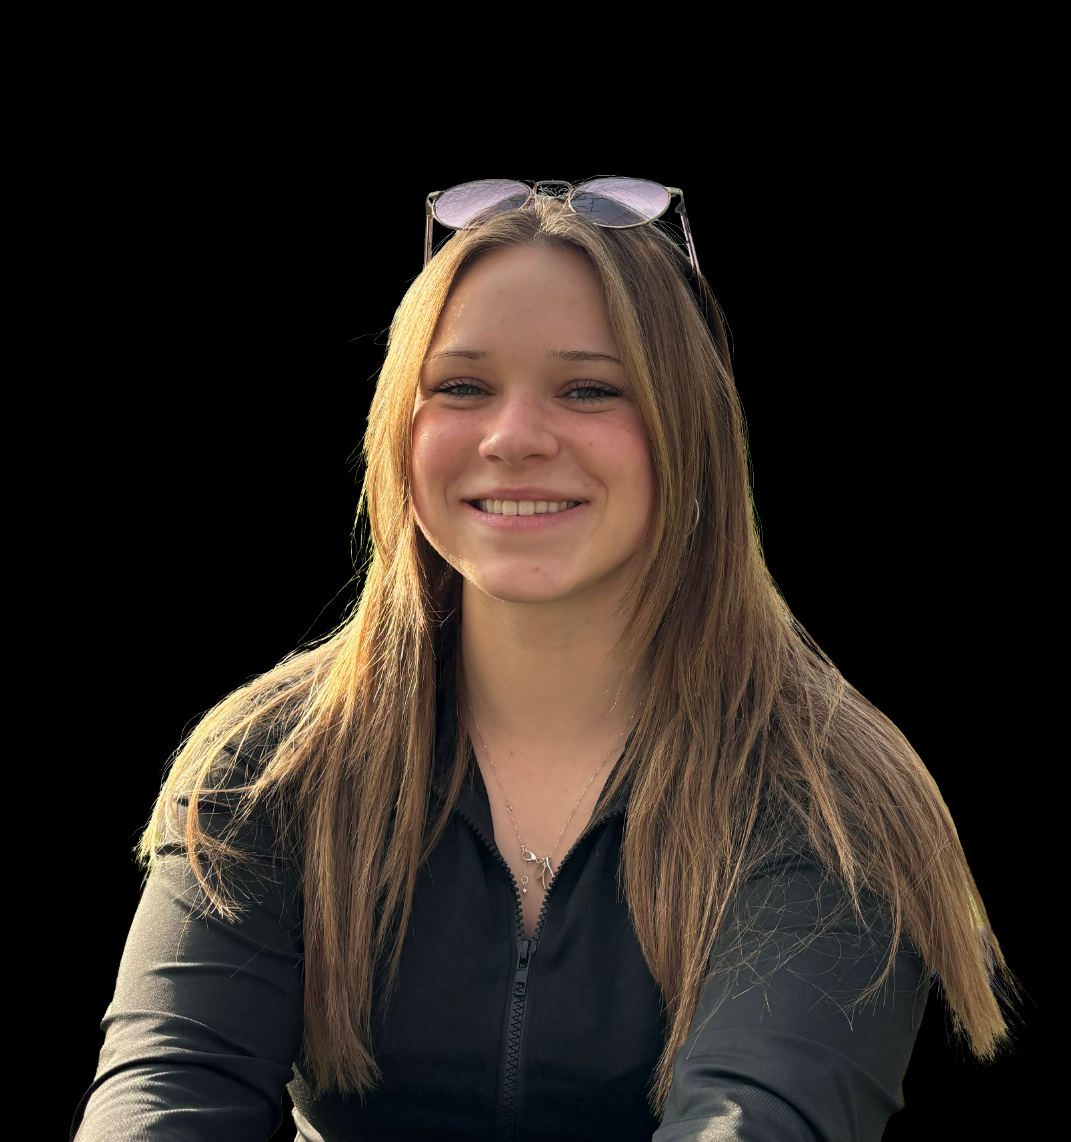
After — clean mask with refined hair edges
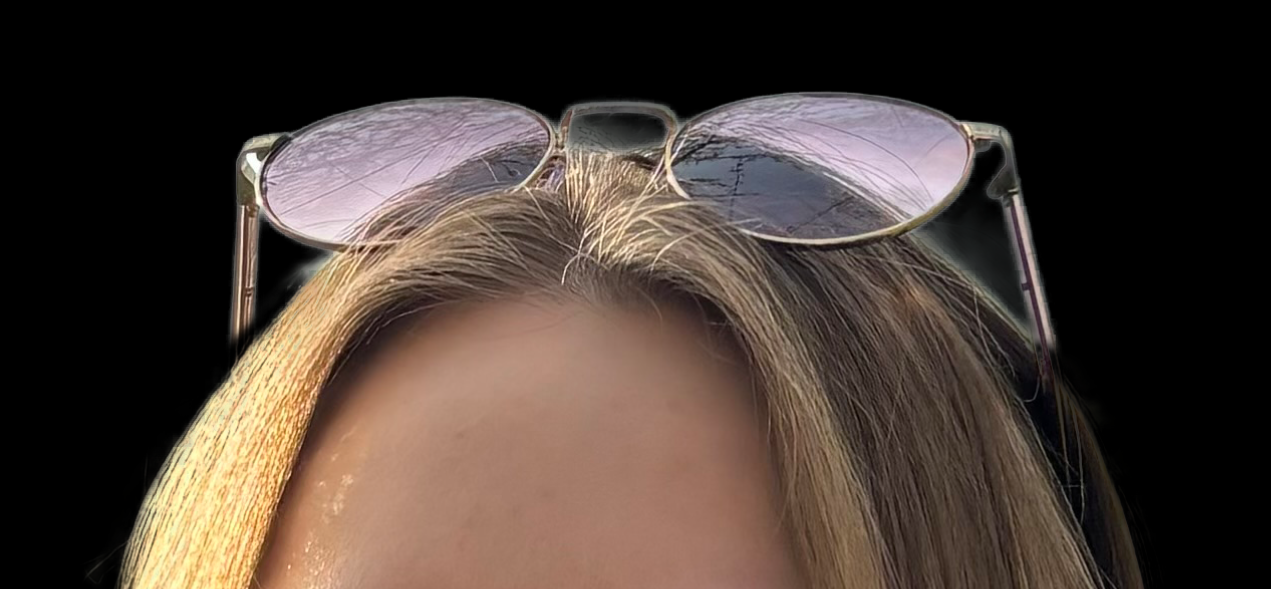
Edge detail at 200% zoom | Raw auto selection | Missing hair strands, rough edges:
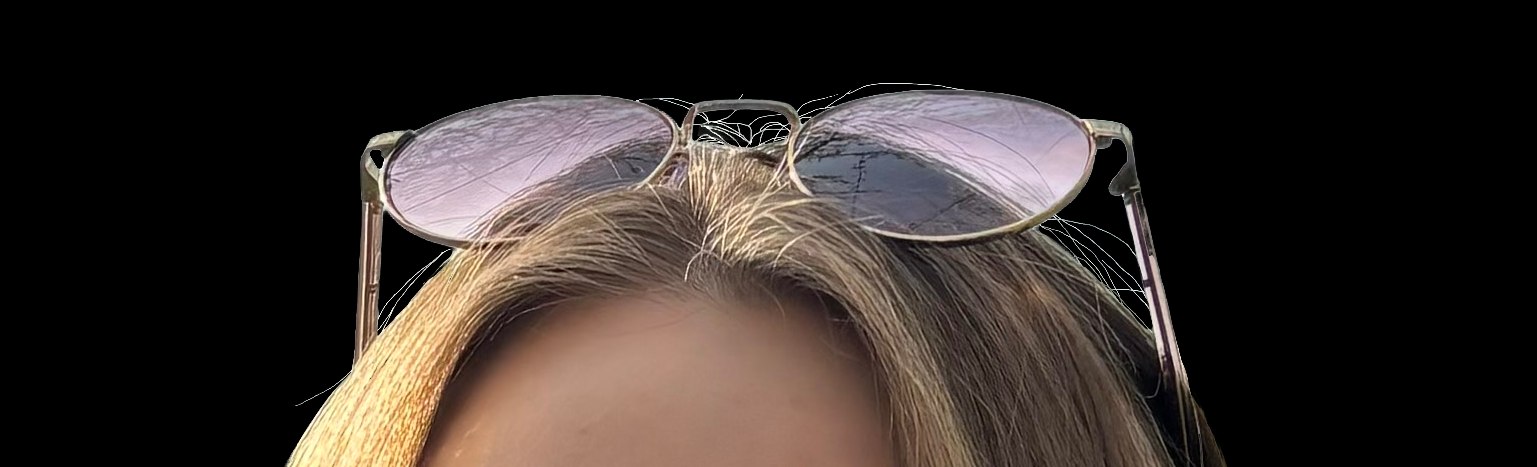
After refine edge pass | Utilizing select subject, refine hair, 41% contrast, -3% shift edge, and brush tool for refinement:
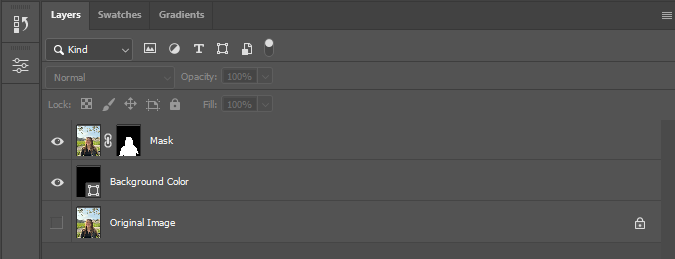
Simple layer setup | Original image hidden for backup, layer mask applied :
03 - Piece Two
Image Compositing & Lighting Integration
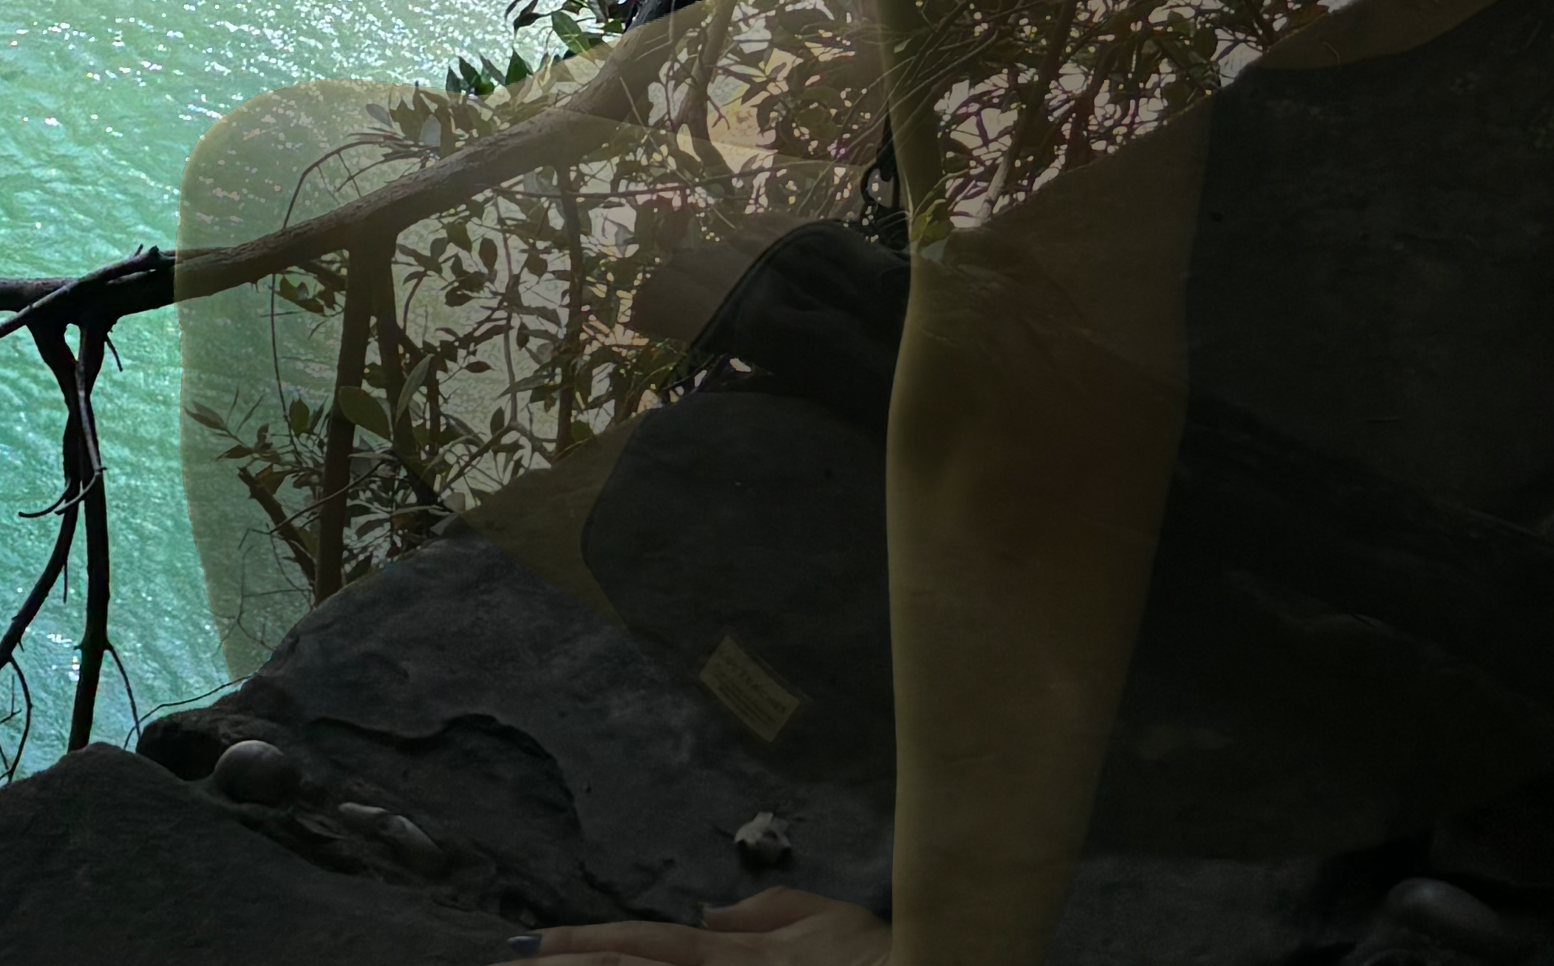
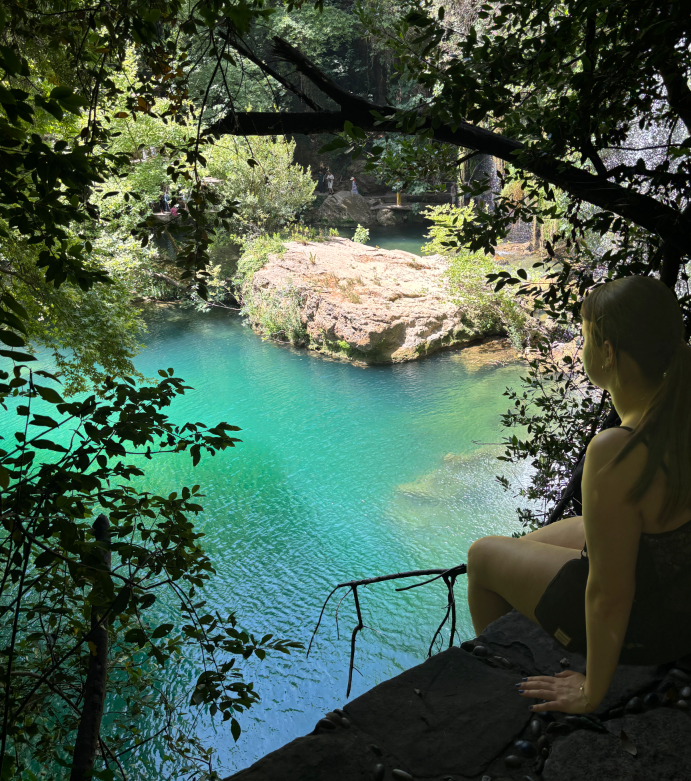
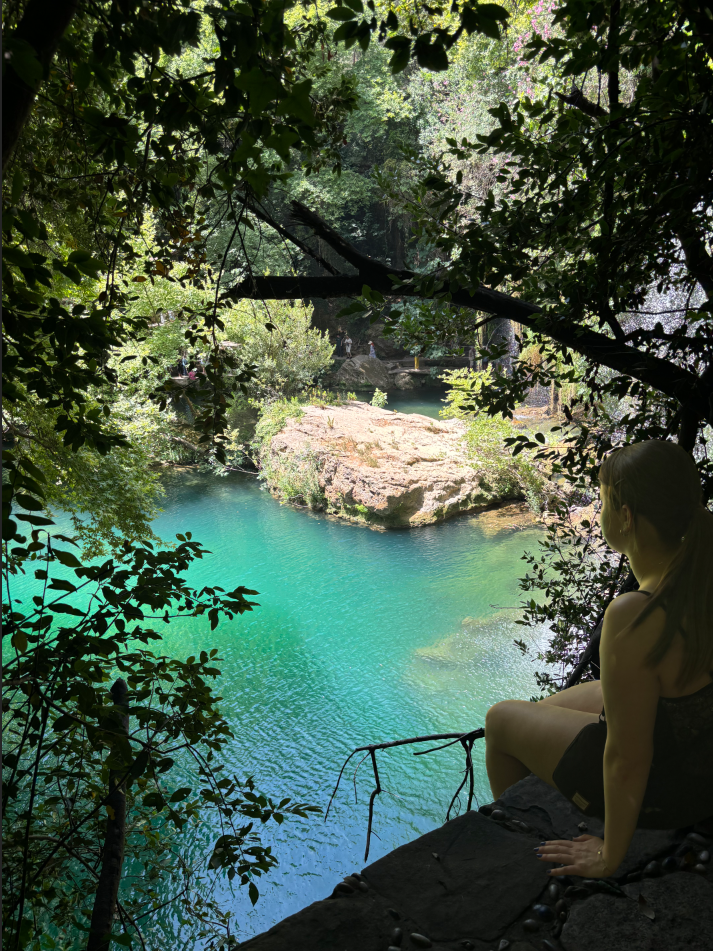
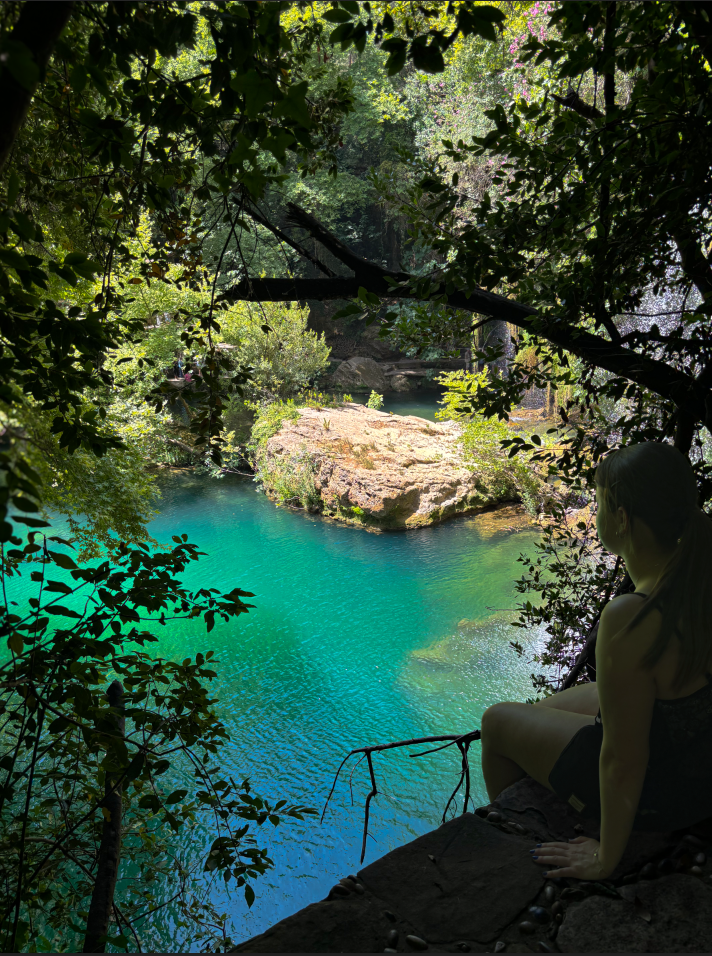
Combining multiple source images into a single believable scene — matching color temperature, light direction, and shadow placement using adjustment layers, blend modes, curves, and filters. This personal project came out of a series of photos I took during a trip to Turkey. I was drawn to the background in the first image, but wanted to bring in the subject from a second shot. To blend the two seamlessly, I used a combination of curves, color matching, shadow work, and camera raw adjustments to fine-tune the final result.
A composite only works if it's believable. The challenge here was making two images that were shot differently feel like they belong in the same world — matching the light, the color, and the way shadows fall.
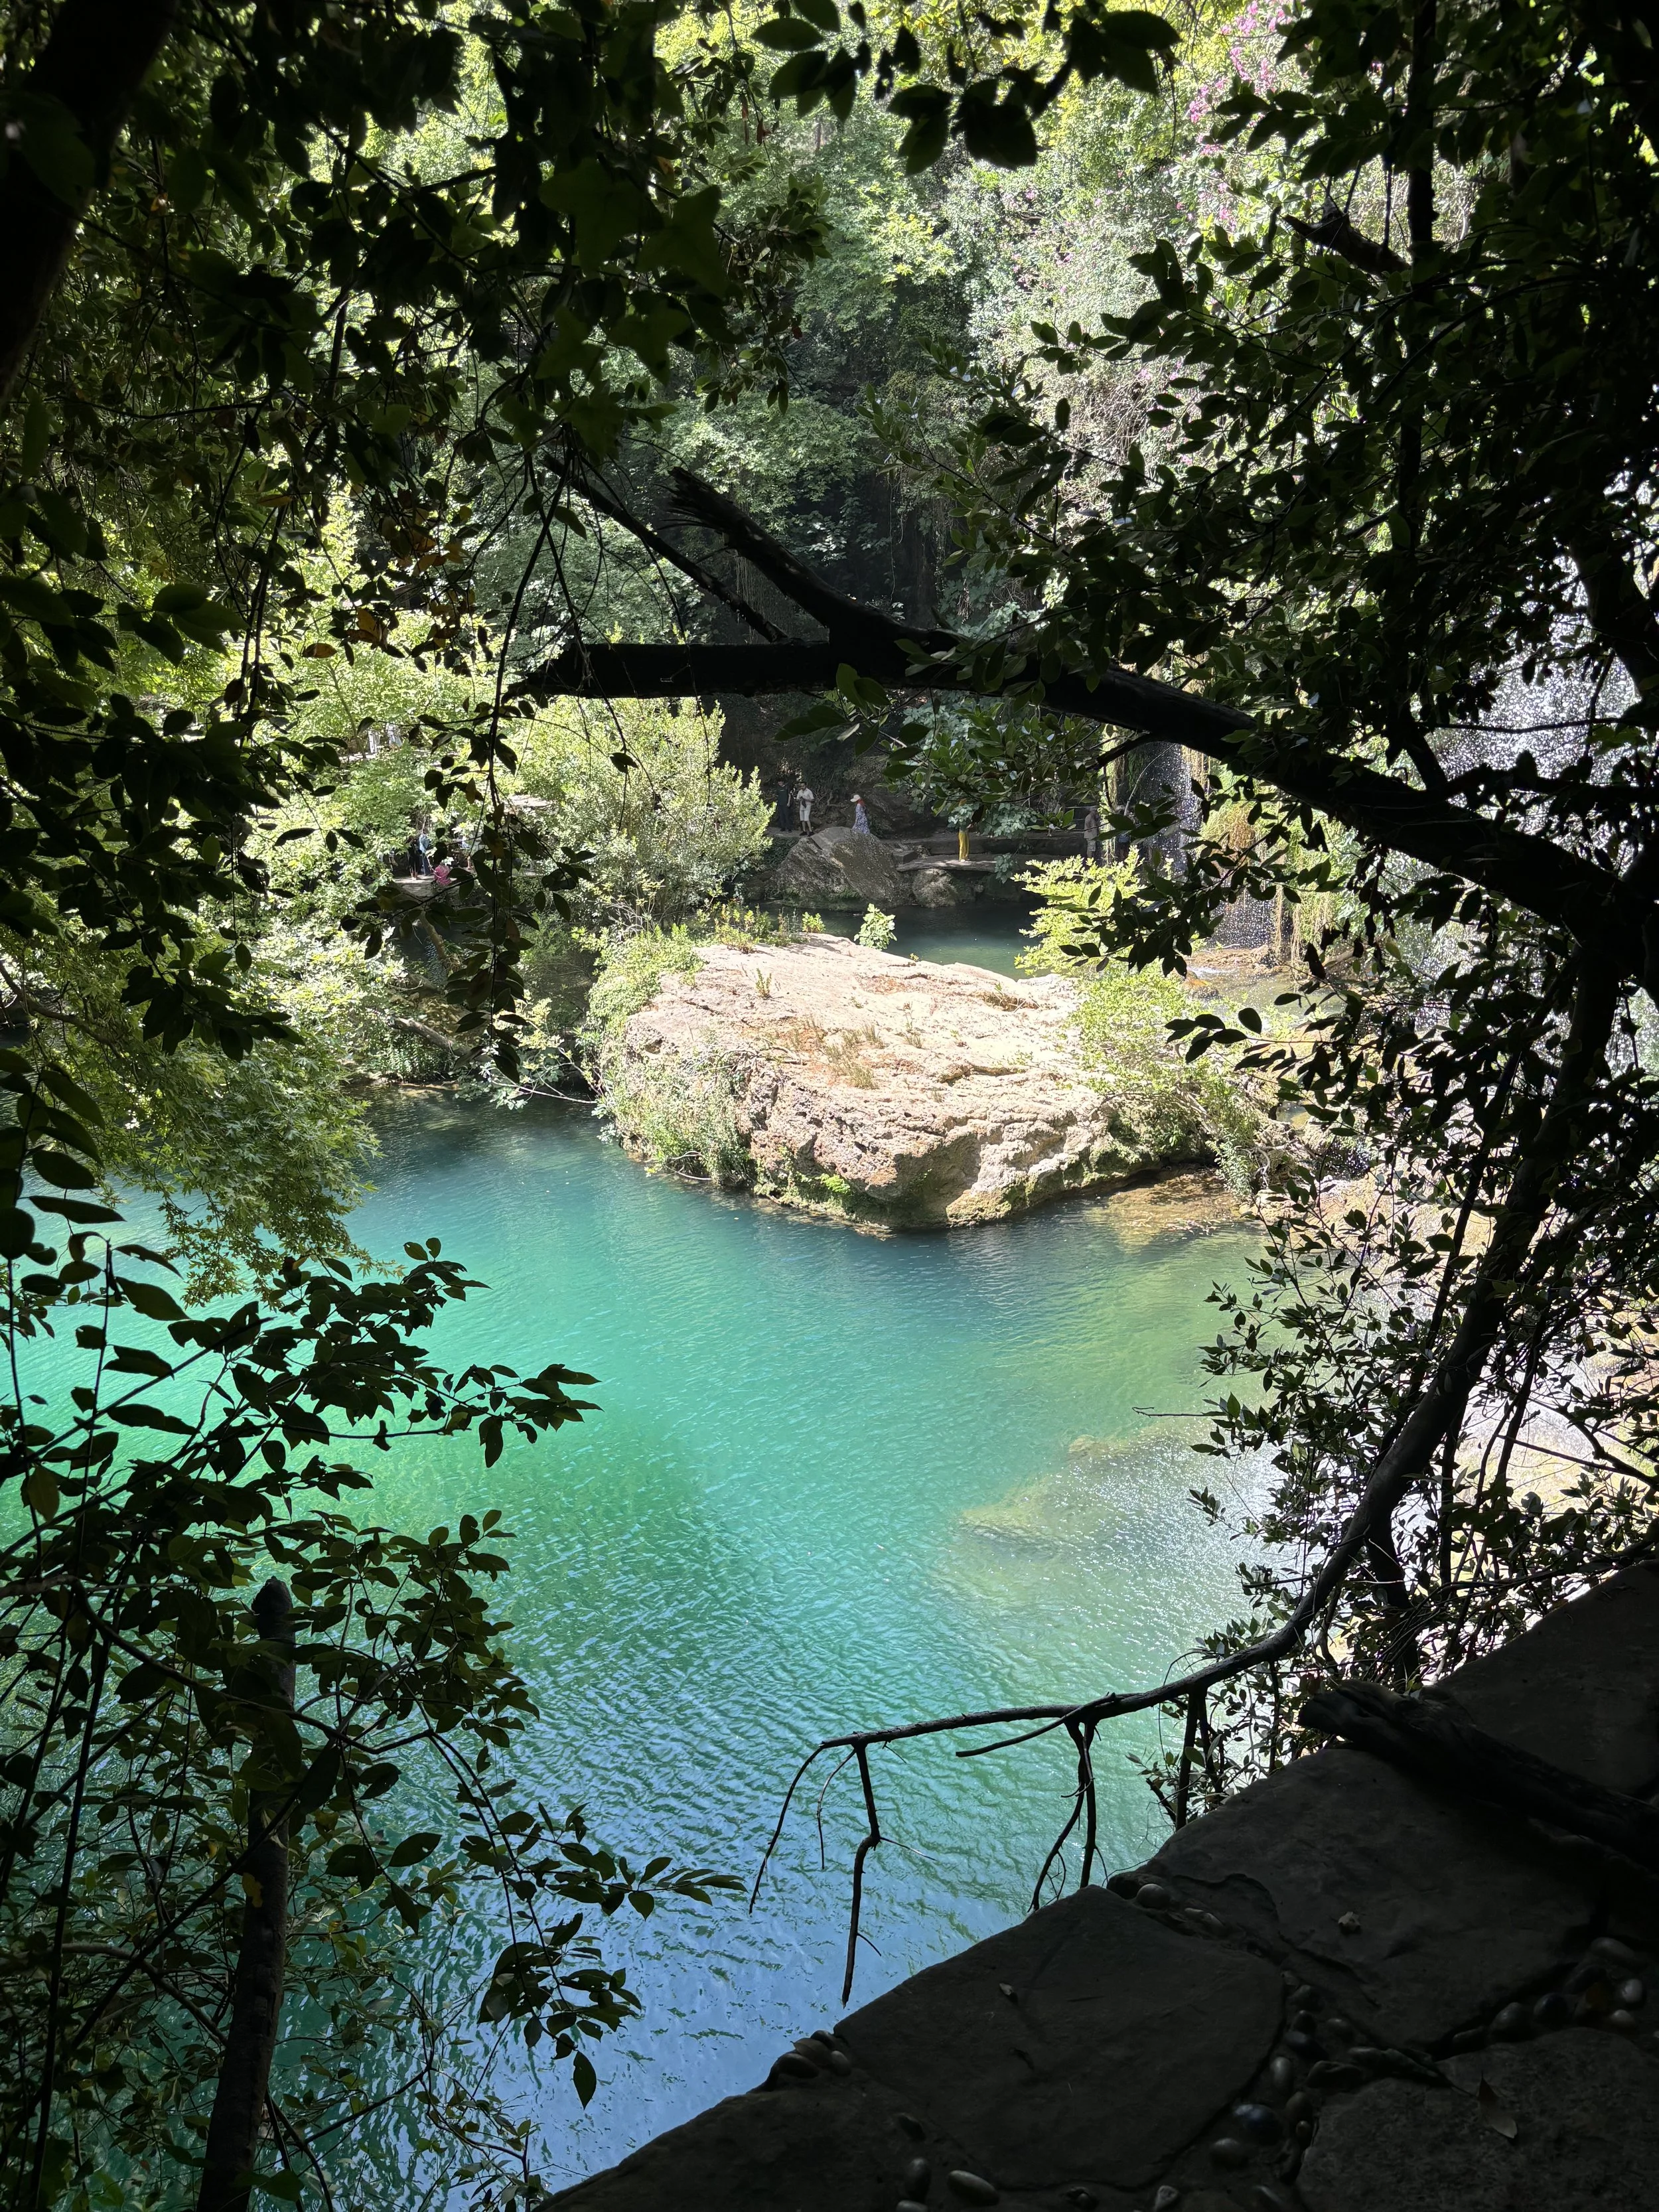
Background
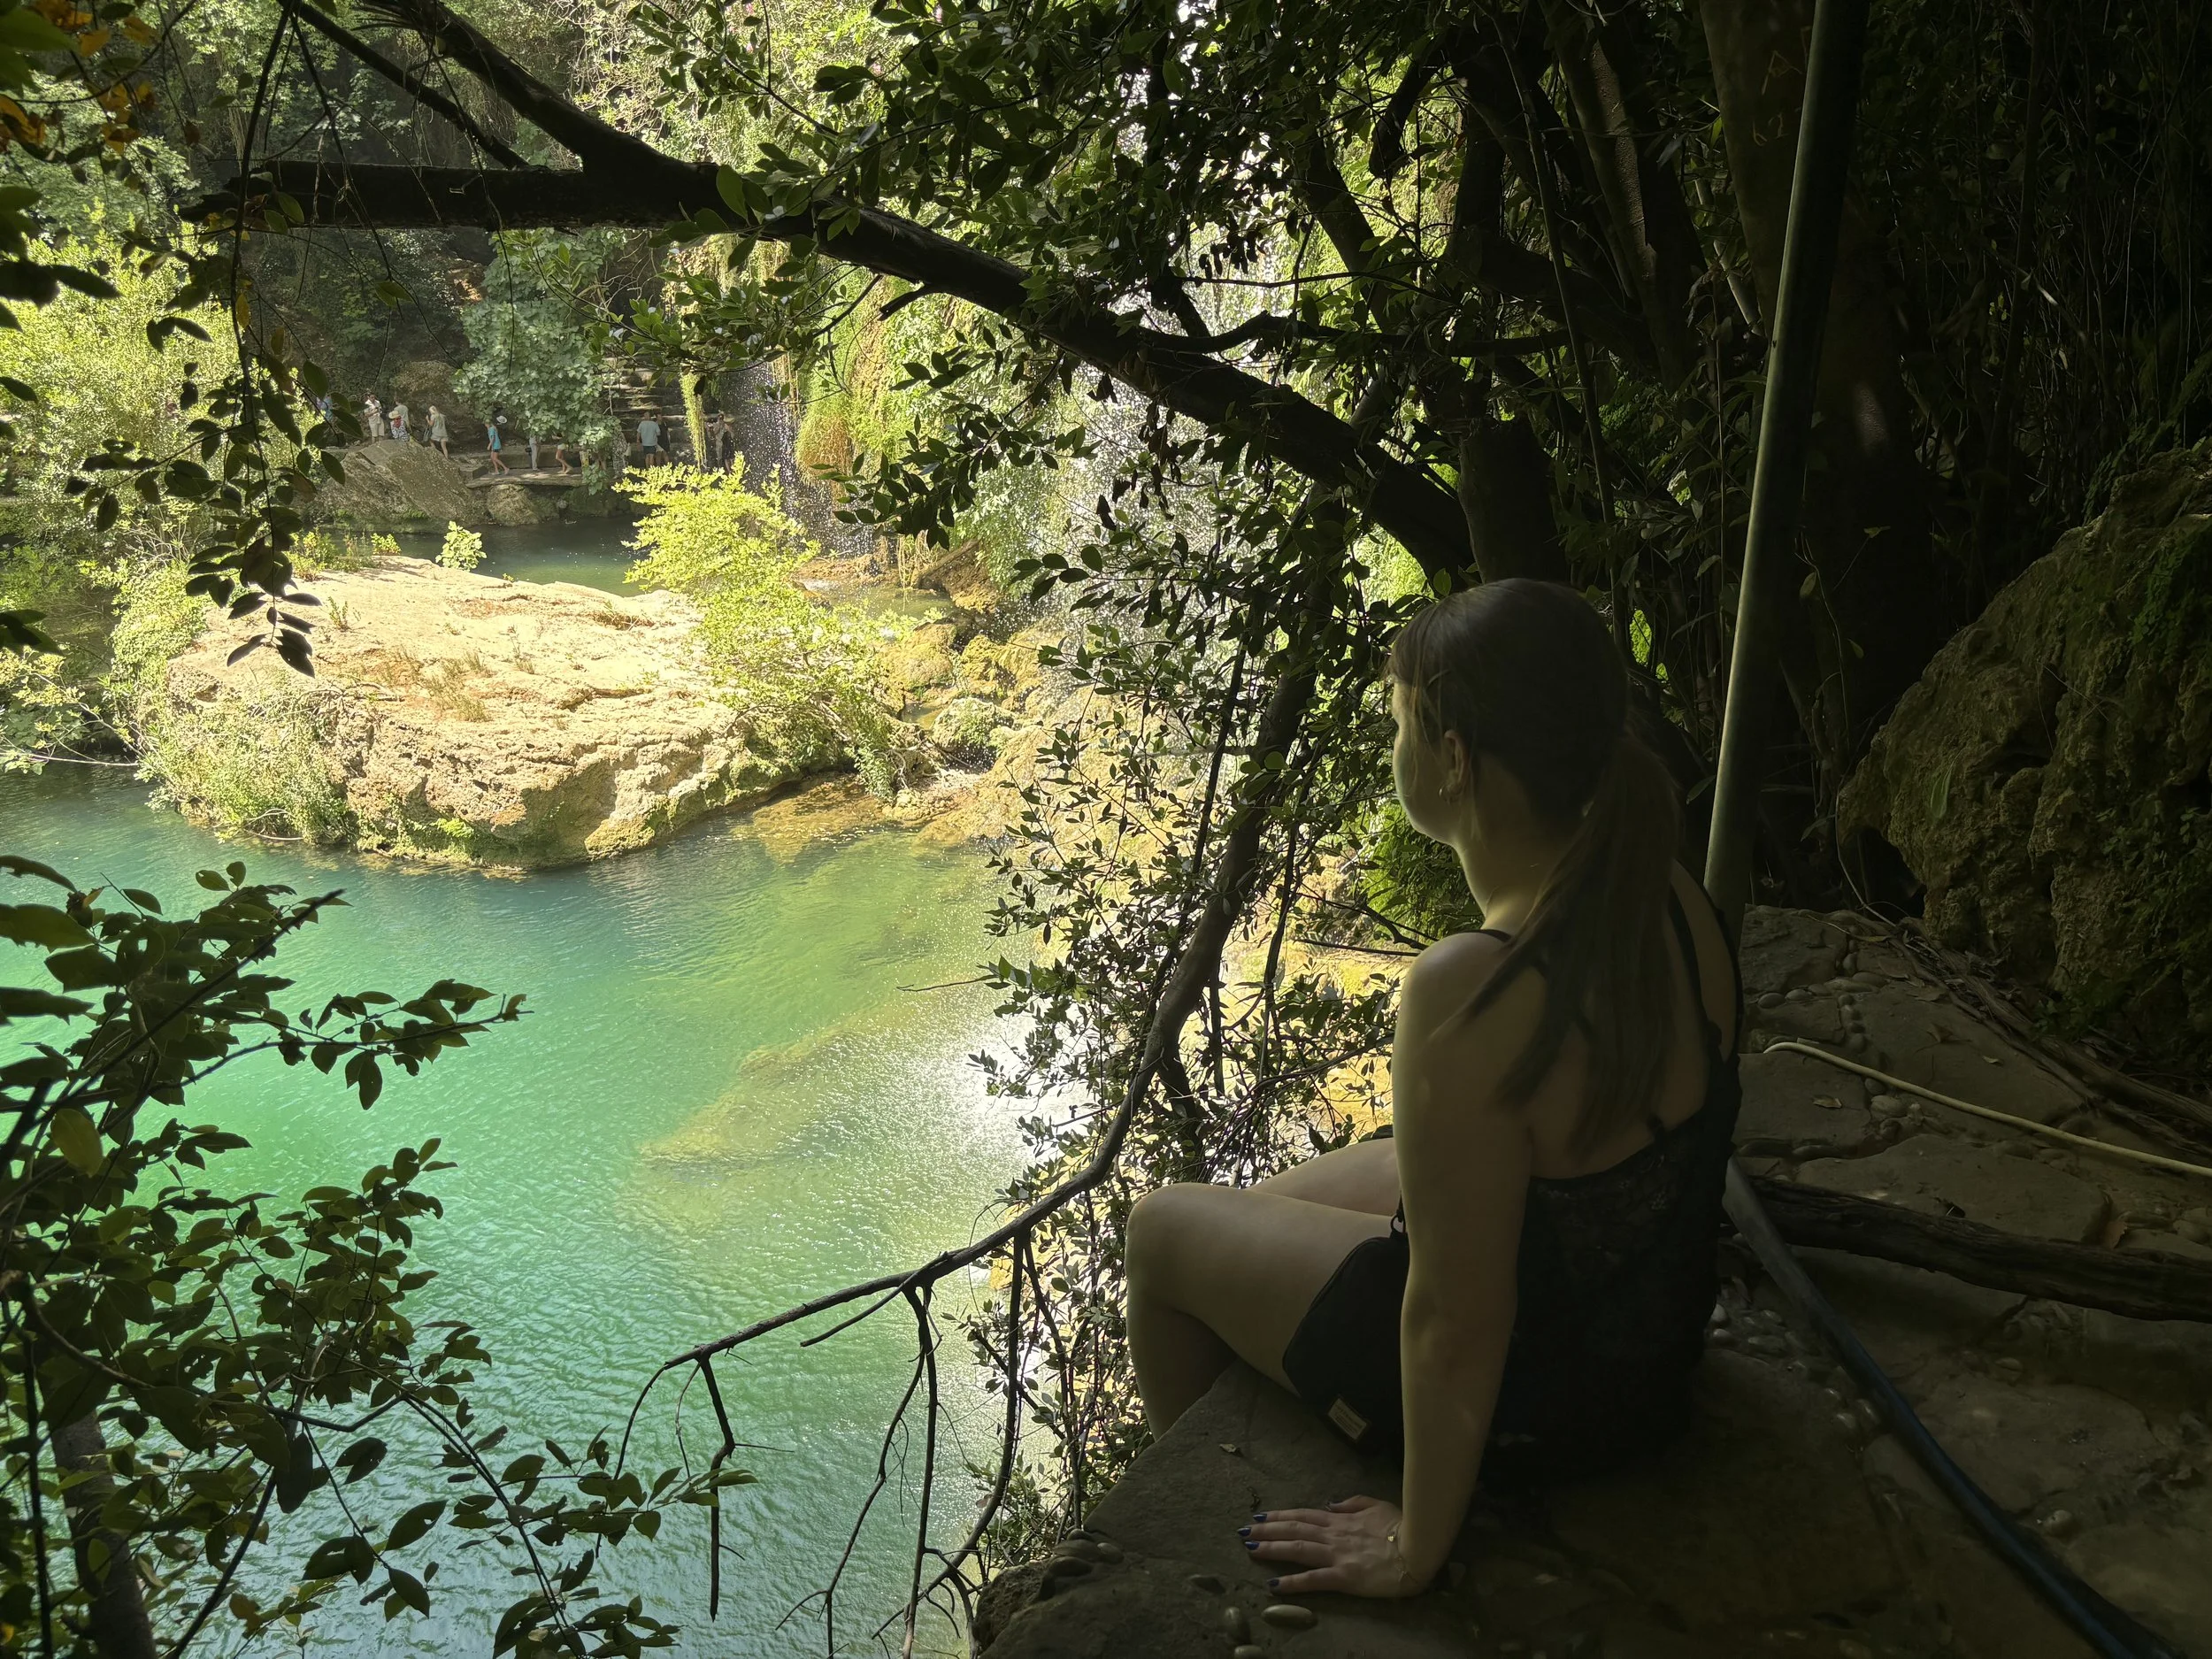
Subject
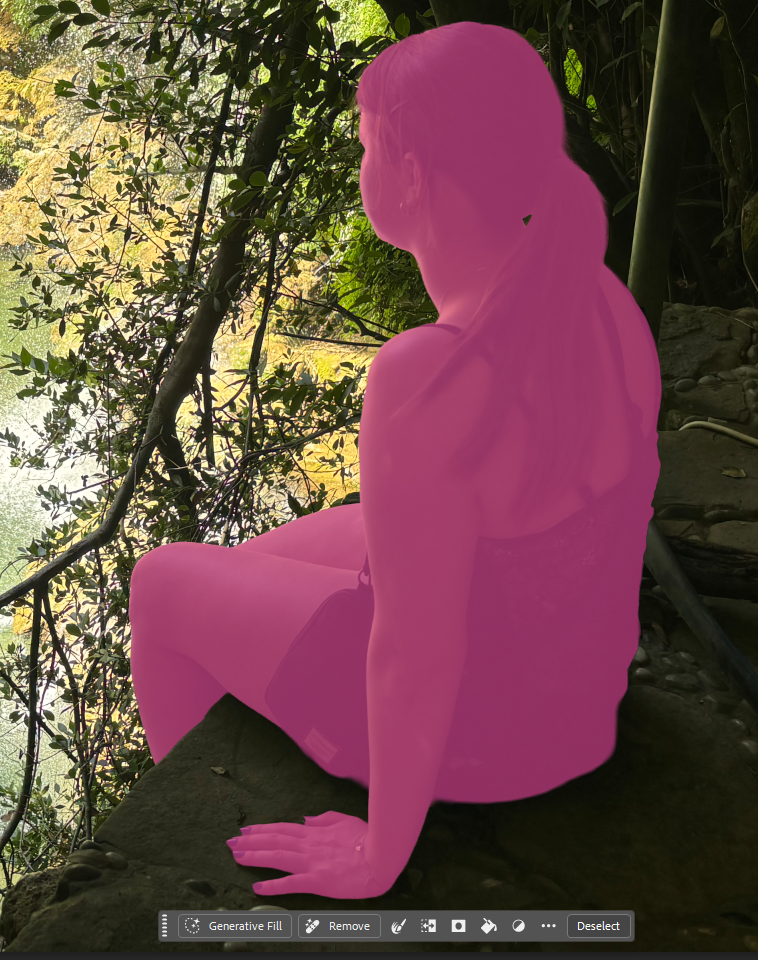
Precision masking & correcting subject form to fit the scene
Subject combined with background | No filters/editing applied
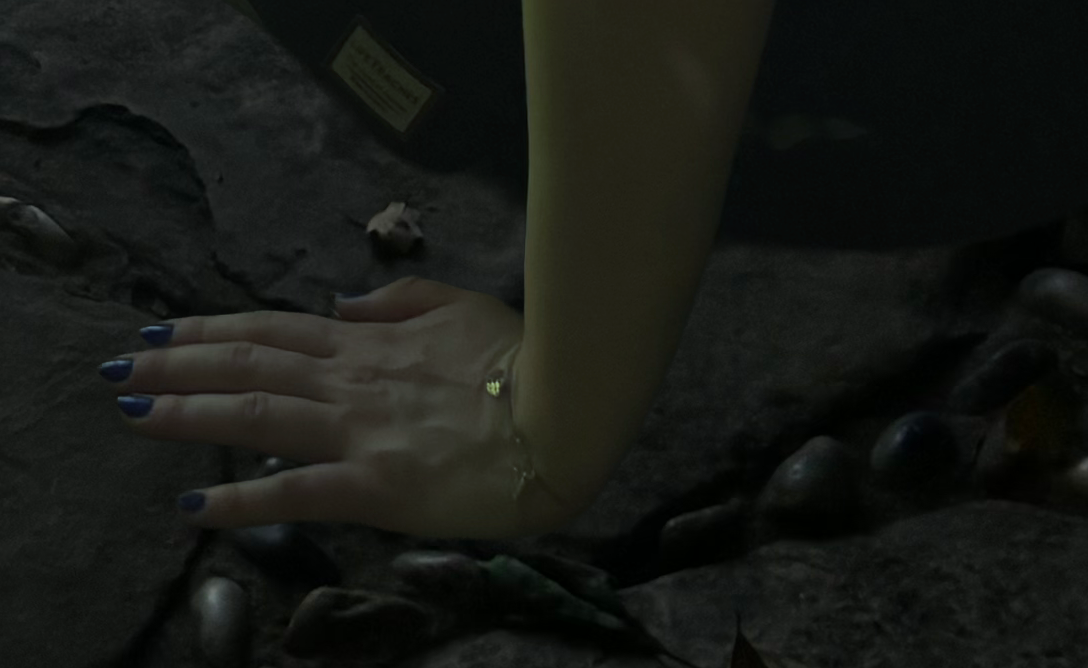
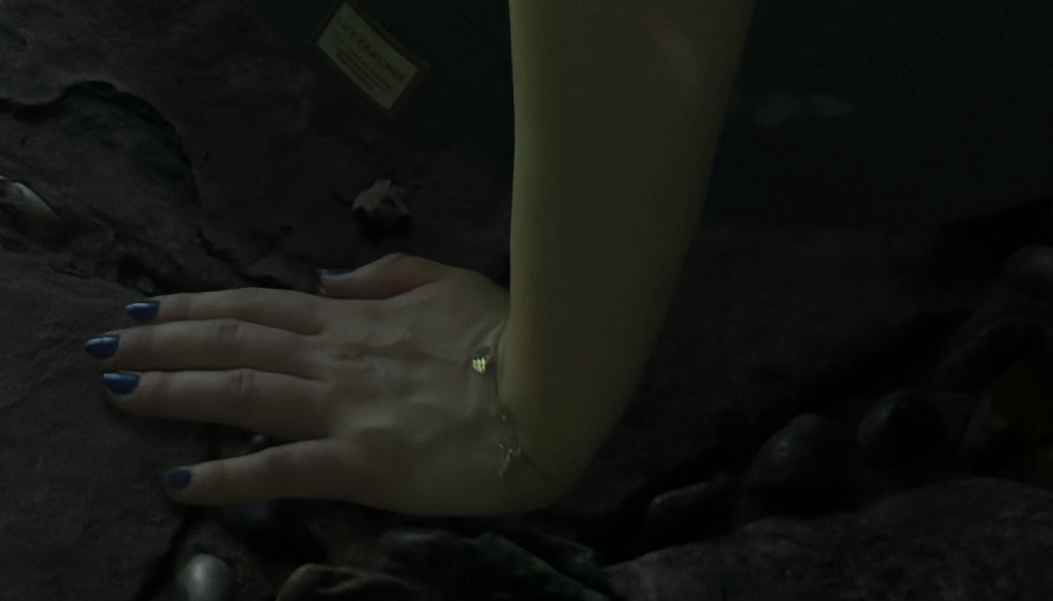
Shadows added to create depth
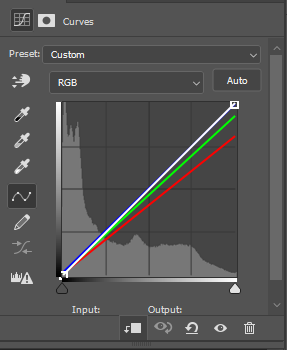
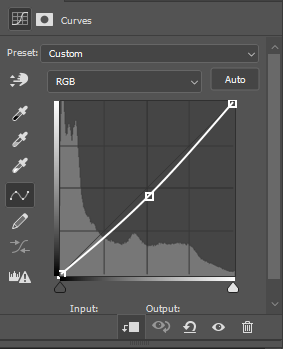
Curve adjustments for lighting, color matching, and exposure
Outcome
Before
After Editing
Layer Organization
04 - Piece Three
Visual QA — Artifact Identification & Correction
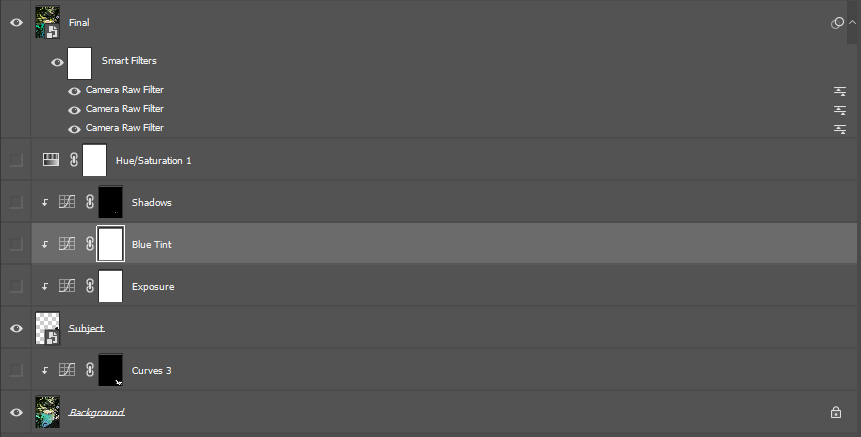
Identified and corrected common image quality issues in a personal photography project from my visit to the Dancing House in Prague, including backlighting, underexposed subjects, and color casts, applying targeted adjustments to bring the image to a polished finish.
Having a good eye isn't just about making things look nice — it's about knowing exactly what's wrong and being able to name it. This piece is about that: spotting the specific issues, documenting them clearly, and showing the fix.
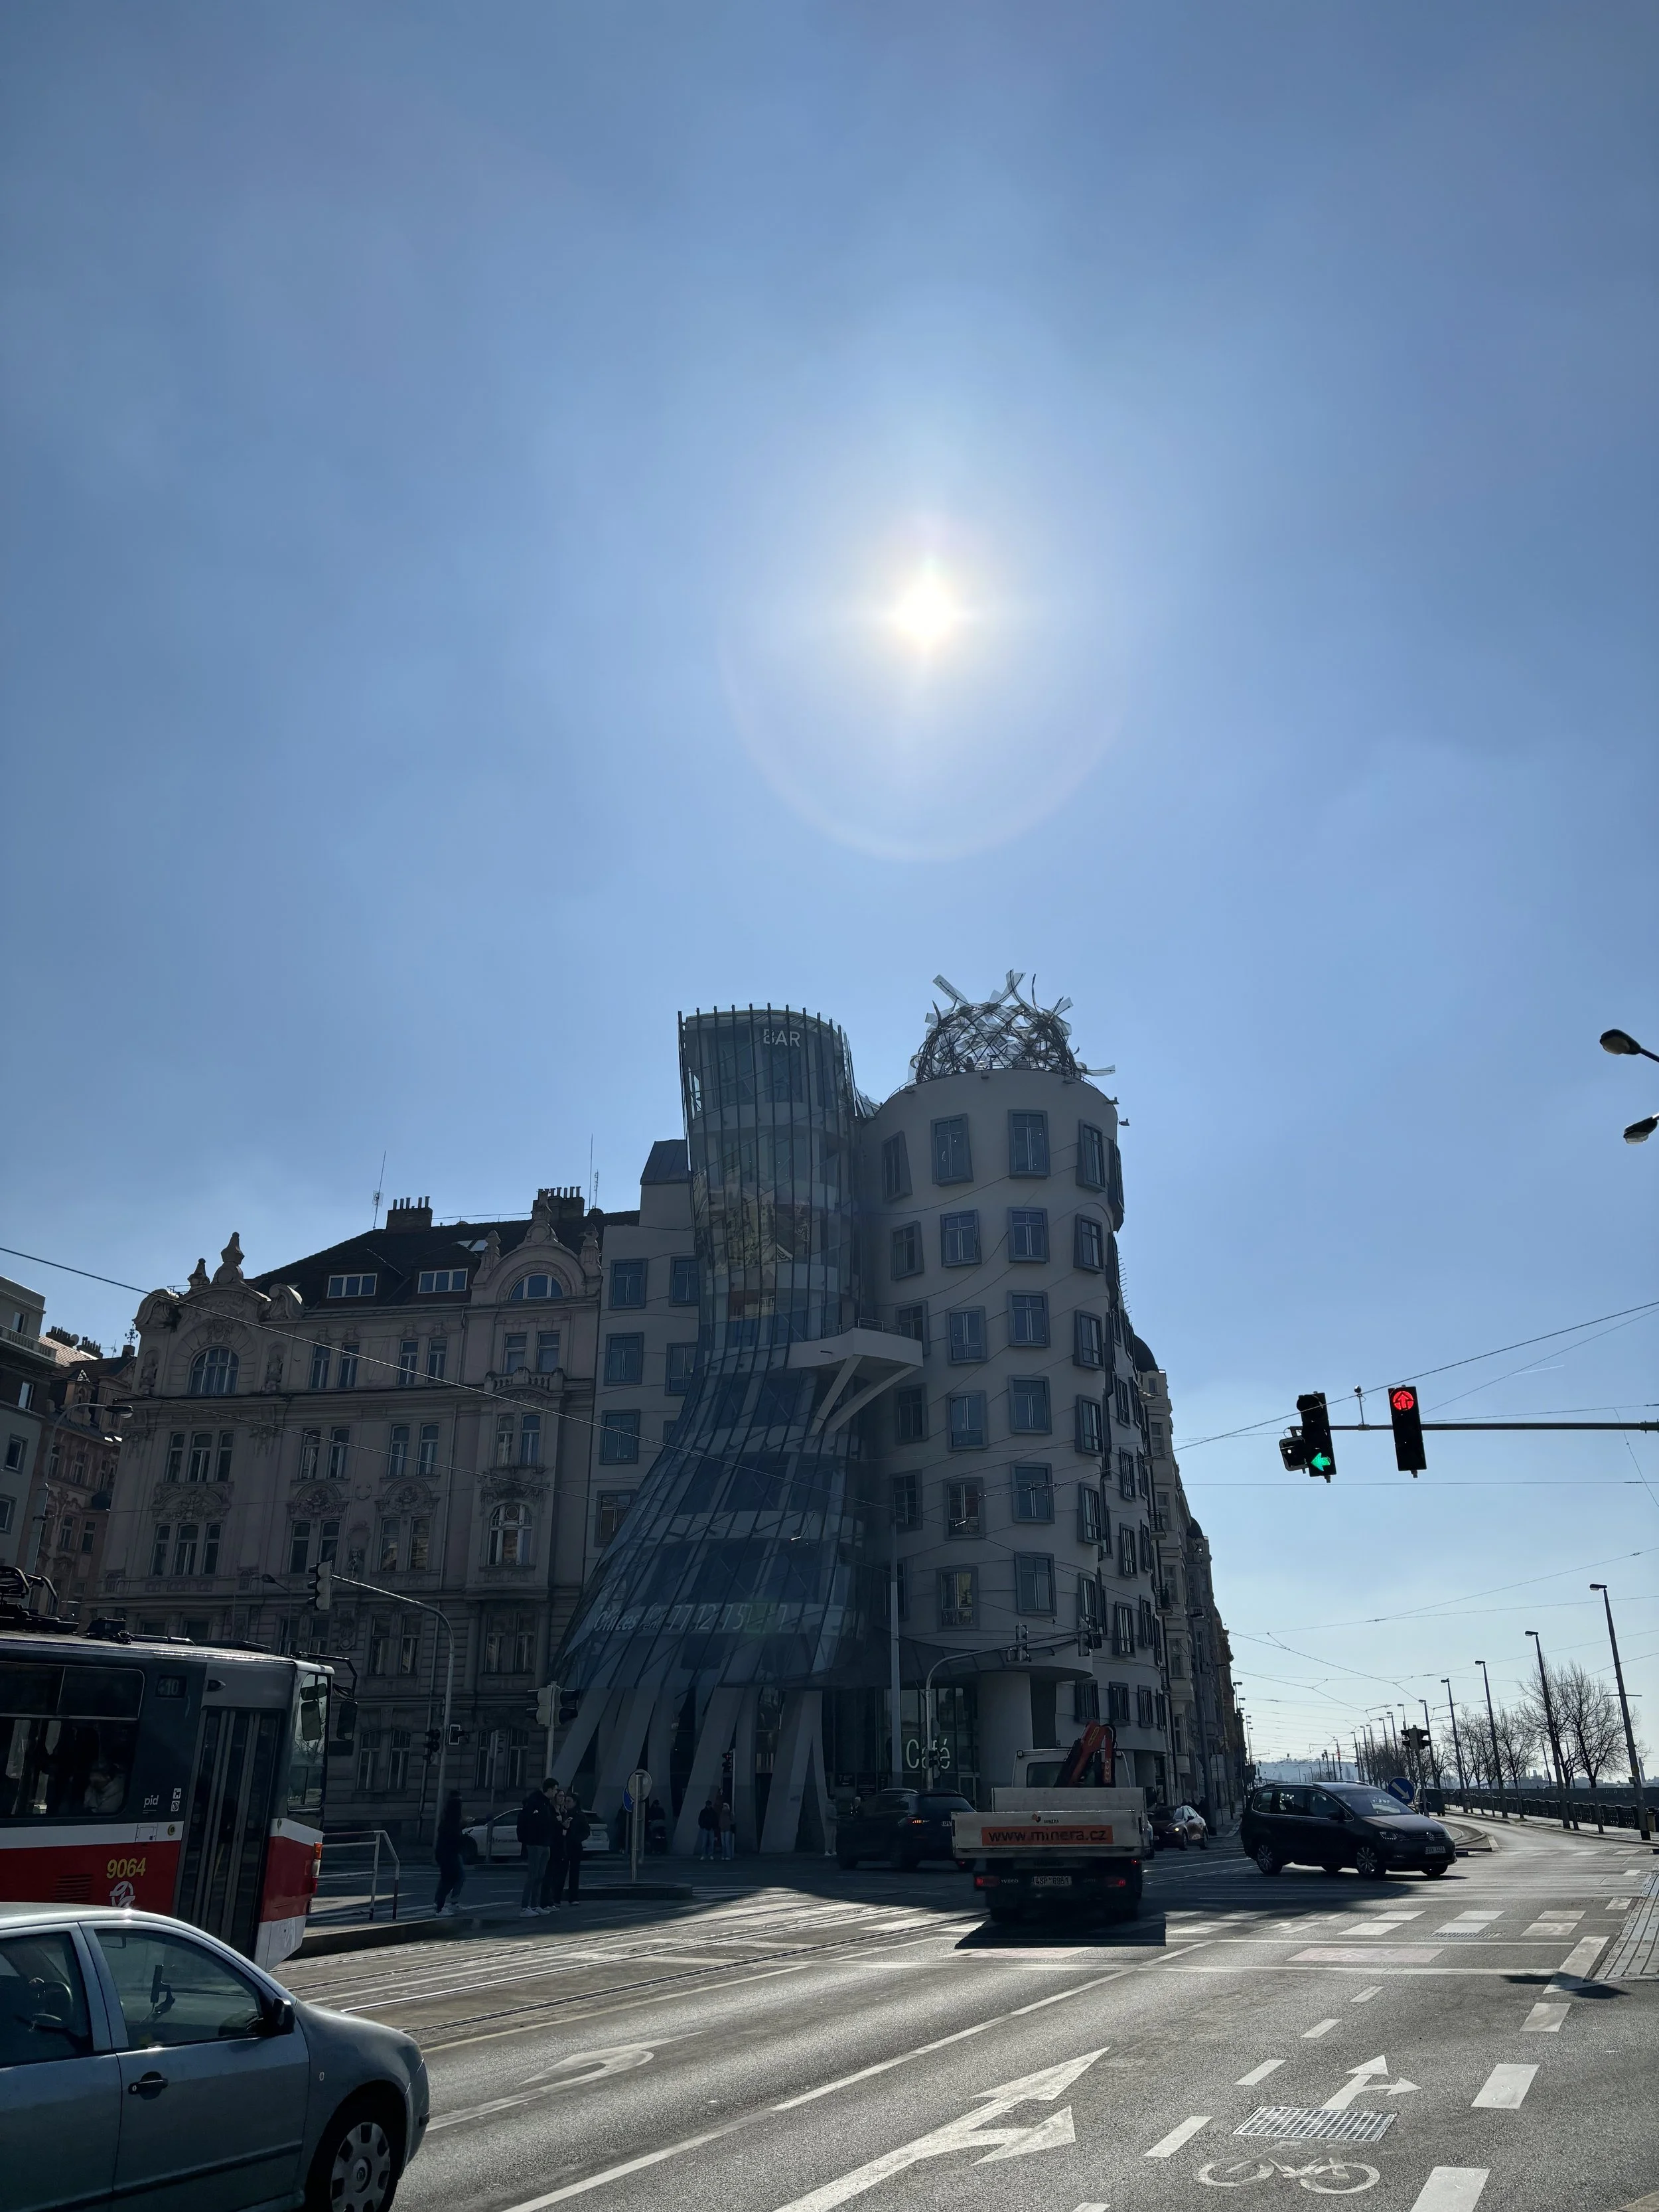
BEFORE — Artifact Version
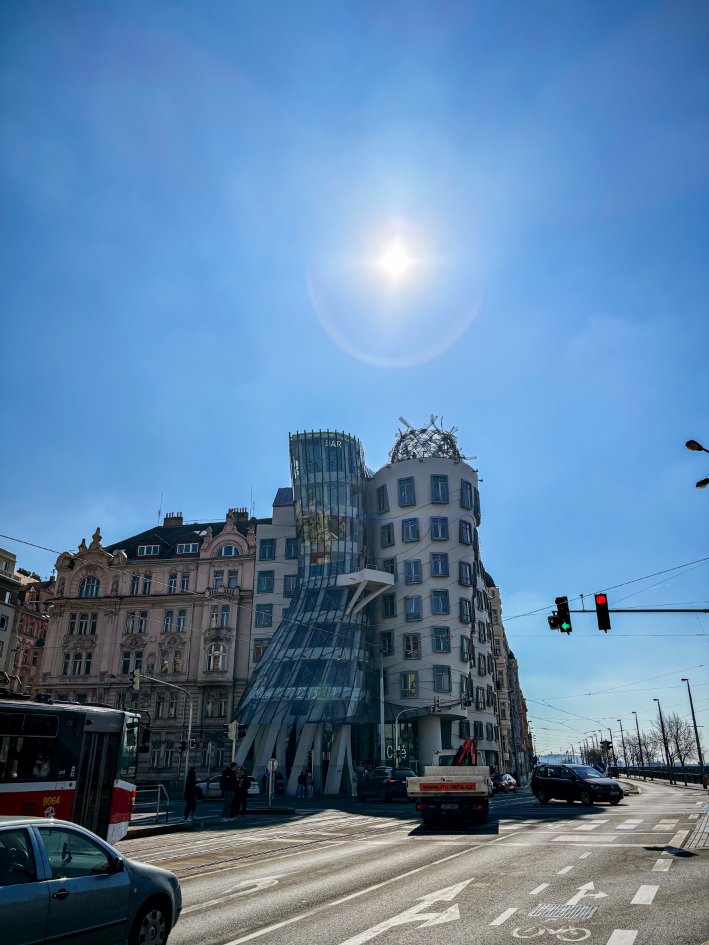
AFTER — Corrected Version
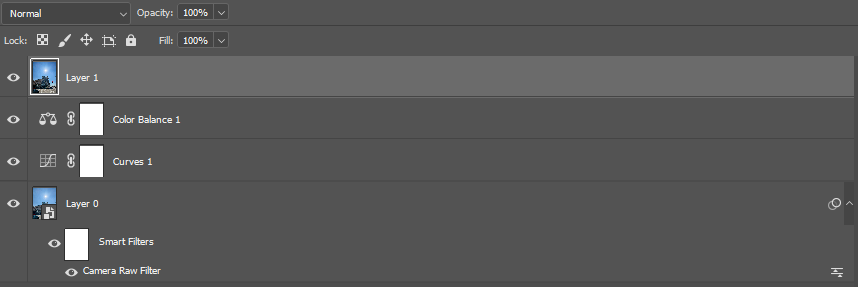
Layers
Issues Identified & Resolved:
Overexposed sky and sun flare: Reduced highlights and whites in Camera Raw, then applied a radial gradient mask around the sun to tame the halo locally.
Underexposed building and foreground: Lifted shadows and exposure globally, then used a subject mask to brighten the building specifically, without affecting the sky.
Cool/blue color cast from backlighting: Added warmth through Temperature adjustments and a Color Balance layer pushing midtones toward red and yellow.
Hazy, low-contrast look from lens flare: Applied Dehaze and a subtle S-curve to restore clarity and midtone contrast across the image.
Distracting flare artifacts and discoloration: Cleaned up with the Spot Healing Brush and a Color-blend-mode layer painted with sampled clean sky tones.